How to Introduce Pouring - a GREAT kitchen skill


Pouring is a great skill to introduce early because:
- Most children are naturally drawn to this activity (wanting to pour their own drinks, add milk to their cereal, etc) so it's better to teach this skill early and properly. While it can be messy, it's a lot less messy if you demonstrate and support their learning of this skill.
- It's a great way to support independence and build confidence at mealtimes.
Plus, it's pretty easy to teach at home. Here's how -
When to Introduce Pouring
Generally between 12-18 months but it really depends on your willingness to manage the mess in the initial learning stages and your child's interest.There will be lots of trial and error with pouring but that’s the point! Your child needs practice the pouring movements over and over again so they can refine their skills with each turn.
How To Teach Pouring
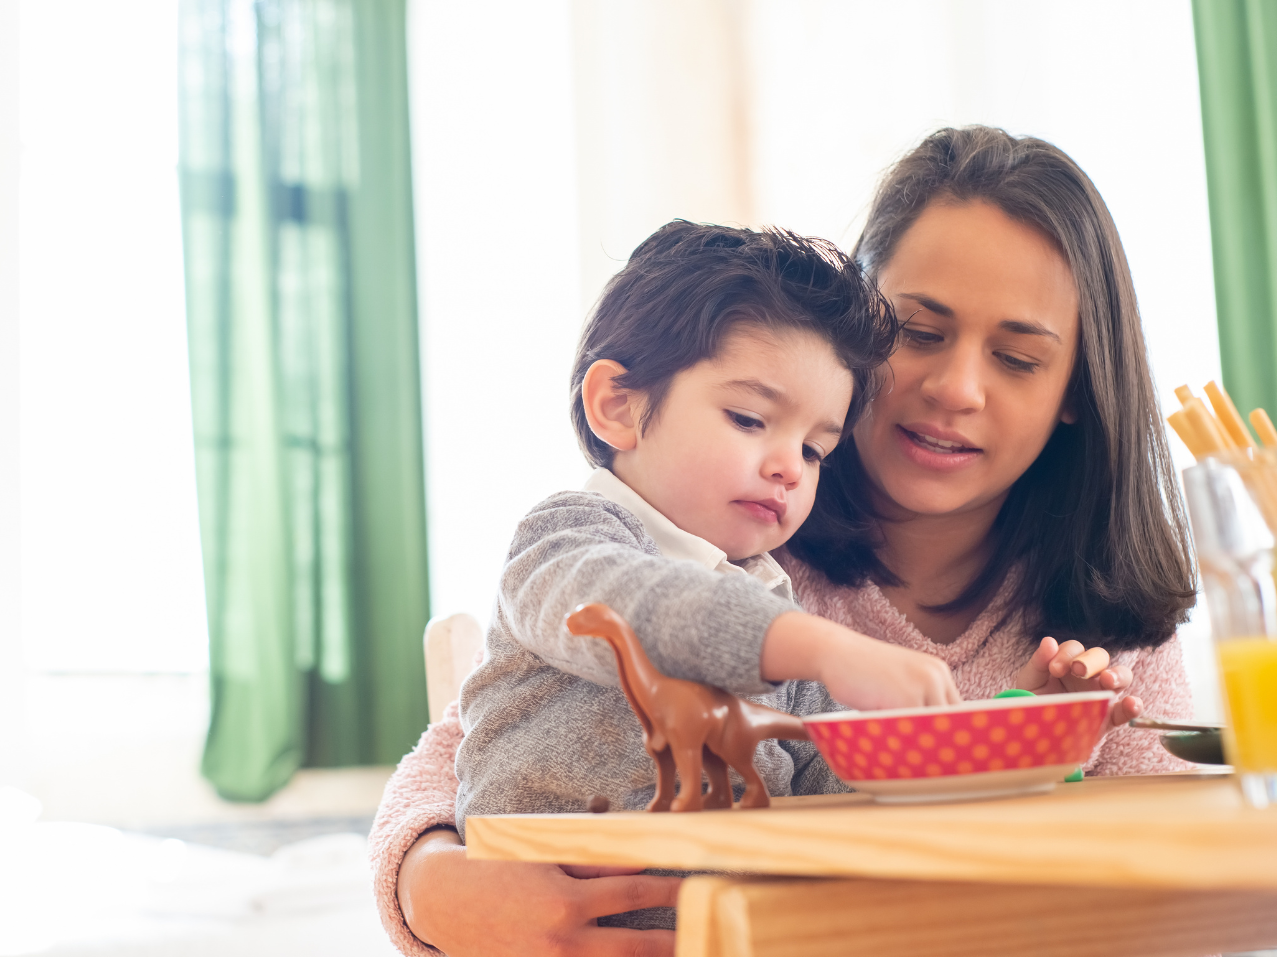
Pouring is a skill where the presentation is of high importance. You, as an adult, have the hand and wrist strength to pour with just one hand but young children don’t - so be mindful of this.
If they see you pouring with one hand, they will copy you.
When demonstrating:
- Choose the right size jug. Ideally you would start with a small pitcher with a small amount of liquid so it's not too heavy.
- Hold the handle with one hand and use the other hand to support the spout (like in the picture below).
- Pour slowly. Pouring takes a lot of fine motor control and using two hands will allow them to have more of it.

Helpful Tips
- You can make it meaningful (and more interesting) right away by inviting your child to pour their own water. The purpose is clear, "I pour this water into the glass so I can drink it." This is also the safer way to introduce it because there are no loose parts.
- A fun, mess-free way to introduce pouring is in the bath. Add a plastic jug to bath time and let them explore. Or on a summer’s day, fill a bin with water and take the activity outside.
- Have cleaning supplies handy. If your child is pouring liquids, make sure you have towels and/or a mop nearby. For dry pouring, have a broom and dust pan. Cleaning up spills is part of the activity, try not to overlook it.Try to avoid making your child feel like they made a mistake by spilling. It will happen, it’s part of the learning experience. Go into it knowing your child will likely spill and have the cleaning tools handy. This will help you feel less stressed when a mess presents itself.
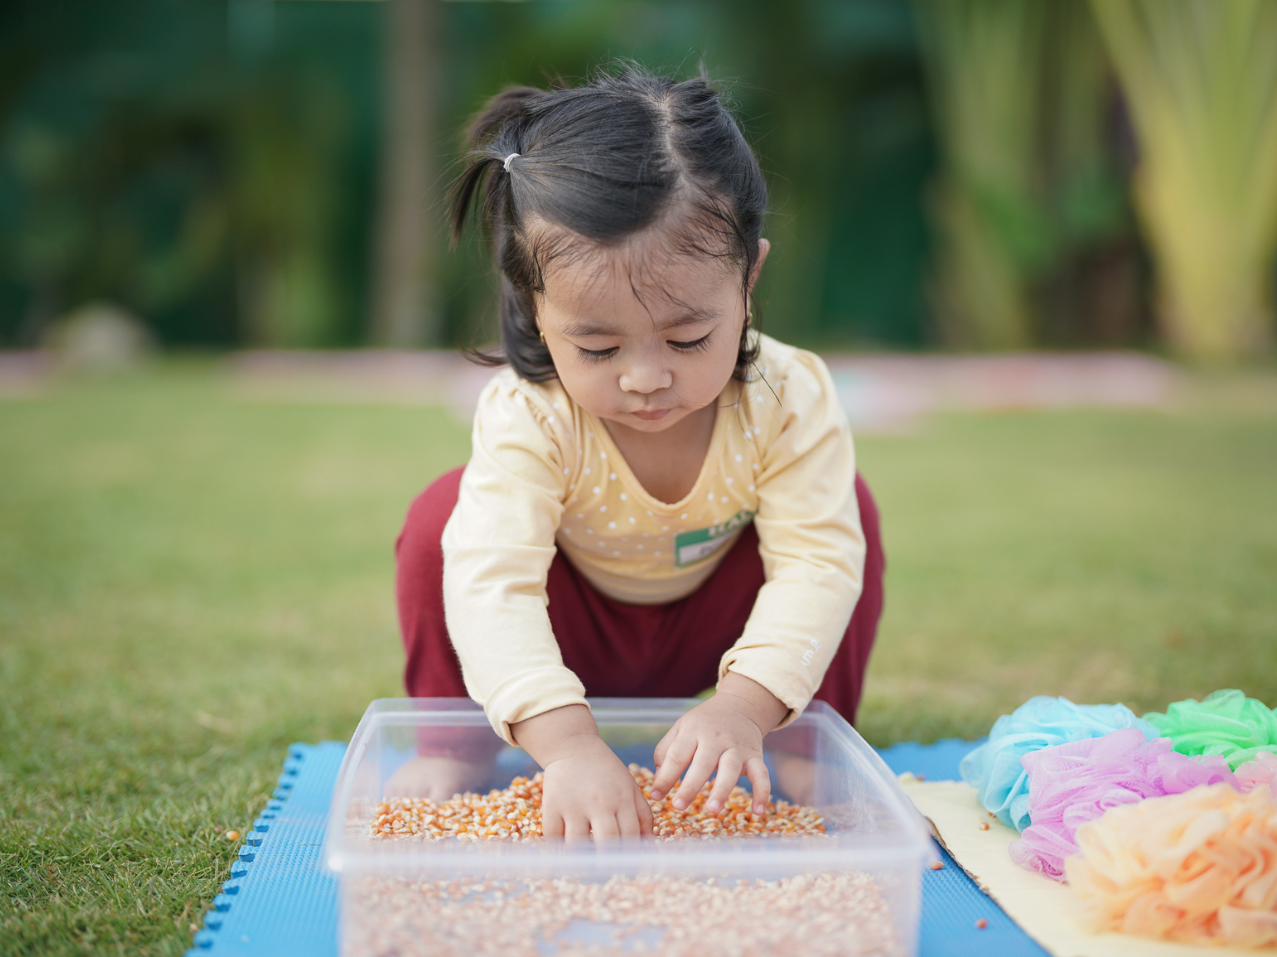
- Pouring work in the Montessori classroom - in the classroom, children practice pouring materials from jug to jug.
They often start with dry pouring, i.e. legumes, rice, any small loose parts, etc. and then wet pouring, i.e. water. These activities give the child extra practice to develop and refine the pouring movements. On top of the fine motor benefits, it’s also a great activity for developing concentration. Pouring from Jug to Jug is on the shelf in Montessori Classrooms from the Toddler class and into Casa (ages 3-6).
Regardless of which avenue your choose, start with very little water, legumes, etc. and make sure your child can manage the jug on their own. Size and weight are important.
 As they're still developing the skills to pour properly and spills happen, it's much easier to manage smaller spills than larger ones!


![Kidamento Kidamento Children's Cameras [3 Models]](http://themontessoriroom.com/cdn/shop/products/kidamento-childrens-cameras-3-models-661353.png?v=1699075281&width=1600)
![Kidamento Kidamento Children's Cameras [3 Models]](http://themontessoriroom.com/cdn/shop/products/kidamento-childrens-cameras-3-models-661353_2000x.png?v=1699075281)