Make A Simple Nature Pouch


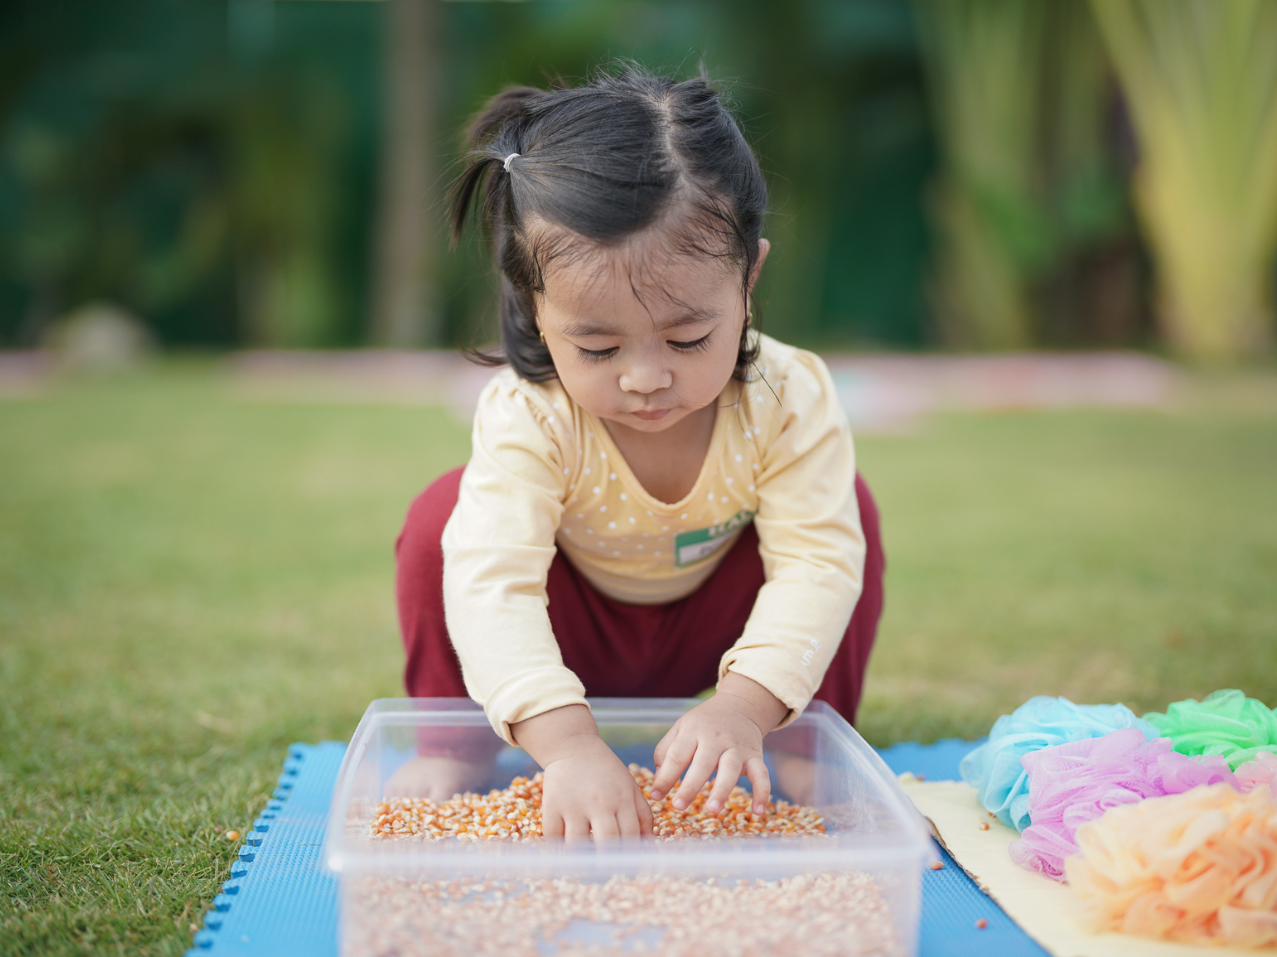
One of my favourite Montessori-inspired activities is child-led walks - no agenda, no rush, and as many stops as we need to turn over every rock within 500m of my house :)
Of course, many of these walks include a found treasure or two - a bottle cap, a cool rock, or some acorn caps.
And many of these beautiful little treasures are often brought back home for closer inspection before their eventual return to nature.
To avoid my own pockets from becoming overstuffed with pinecones and pebbles, we made a really simple nature pouch to bring on our walks.

What You’ll Need:
- 2 small pieces of fabric (felt, thick cotton, or leather)
- Scissors
- Yarn or Thick String
- Hole Punch (optional)
- Safety Lacing Needle (plastic or metal with a blunt tip). Something like this:

If you don't have one of these needles, you can also sew the pouch with a regular needle. These are just the best option for children.
You can also find these needles in any of our beginner sewing kits.

Instructions:
- Place the two pieces of fabric on top of each other.

- Use a tissue box to trace on your fabric about ⅔ of the length of the tissue box and across the full width of the tissue box.

You can also make it any size you like but don’t make it too big or it’ll be hard for your child to carry.
- Cut out your fabric. If your child is old enough, they can do the cutting. They may have to cut one sheet at a time so make sure you trace the outline on both pieces of fabric, if that's the case.
- Use a hole punch to make holes about 3cm from the edge of the fabric or use scissors to snip small openings.


- Cut a piece of string about two adult arms length long.
- Thread your Safety Lacing Needle.
- Thread it through the top hole on one side of the two pieces of fabric, leaving a long tail (long piece of string at the end).
If your child is doing the sewing and might pull the string right through the top hole or pull so hard they shorten the tail, then tie the thread once at the top hole.

- Use a whip stitch to sew all around the pouch.

- Tie both ends of the string together for easy carrying crossbody.

- Your child can decorate it or personalize it, if they like.
- Take on your next walk to collect all your little treasures.
If DIY isn't your thing, we also have some beautiful Nature Pouches from Sarah's Silks for $19.99: https://themontessoriroom.com/products/sarahs-silks-treasure-pouches


![Kidamento Kidamento Children's Cameras [3 Models]](http://themontessoriroom.com/cdn/shop/products/kidamento-childrens-cameras-3-models-661353.png?v=1699075281&width=1600)
![Kidamento Kidamento Children's Cameras [3 Models]](http://themontessoriroom.com/cdn/shop/products/kidamento-childrens-cameras-3-models-661353_2000x.png?v=1699075281)